Composr Tutorial: Pinning messages at the top of pages
Written by Patrick Schmalstig
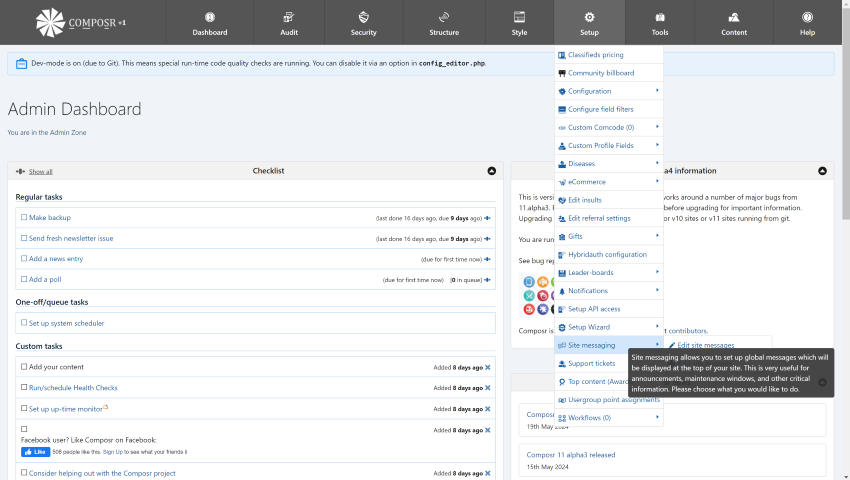
Site messaging allows you to set up global messages which will be displayed at the top of your site. This is very useful for announcements, maintenance windows, and other critical information. You can filter where and when the messages are displayed (certain match-key pages, a date range, and usergroups).Managing site messages
Clicking Admin Zone > Setup > Site messaging will take you to a simple do-next screen to assist you with setting up your site messages.The site messaging item is under Admin Zone > Setup > Site messaging.
(Click to enlarge)
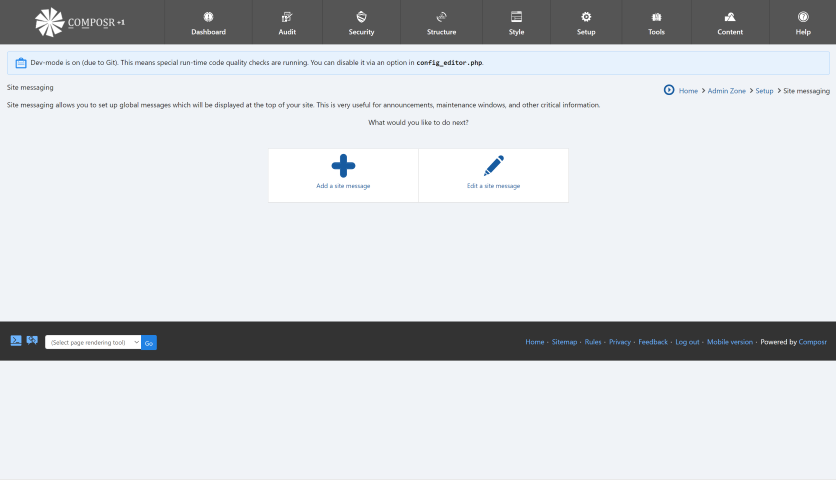
The simple do-next screen will assist you with managing your messages.
(Click to enlarge)
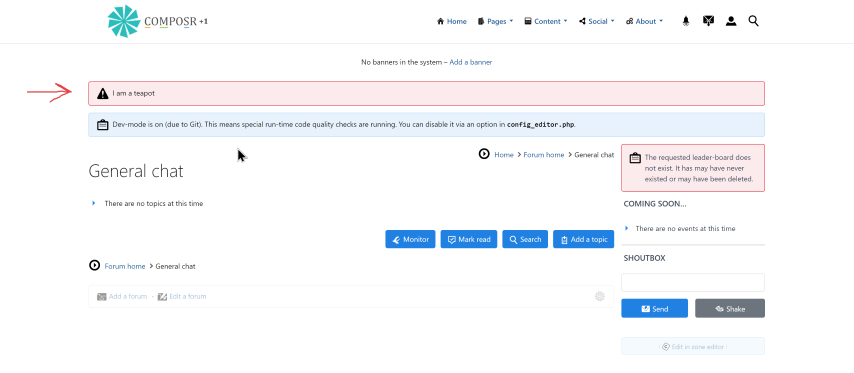
This is an example of the display of a site message.
(Click to enlarge)
Adding a site message
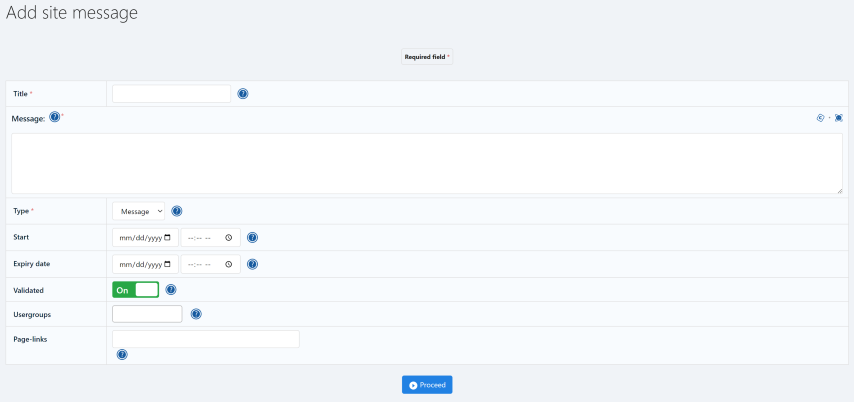
There are several criteria you can define for a site message
(Click to enlarge)
- Title: This is just a label and is only used on the "Edit a site message" screen and the action log. It allows you to easily identify different site messages.
- Message: This is the actual contents of the message to be displayed. The field allows Comcode, so you could for example specify a URL tag to create a link.
- Type: This defines the level of importance for the message and thus how it is displayed on the site. Warnings show up in red.
- Start: You can optionally specify a start date and time for the message. If left blank, it will start showing immediately.
- Expiry date: You can optionally specify an expiry date and time for the message. If left blank, the message will continue showing until you manually edit or delete it.
- Validated: If the validation addon is installed, you can hide certain messages while preserving all their settings by turning this to 'Off'.
Advanced filtering
There are two advanced criteria that can optionally be used to further filter who sees the message and where: usergroups and match-keys.Advanced filtering: Usergroups
If the "Usergroups" multi-list field is left blank, then the message will show for members of all usergroups. Otherwise, the member must be in one or more of the defined usergroups to see the message.Advanced filtering: Match-keys
If you need help getting the page-link of a current page, they are typically visible in the footer when viewing as an administrator.

(Click to enlarge)
If the "Match-keys" multi-line field is left blank, then the message will show everywhere. Otherwise, the message will only show if one or more of the specified match-keys match the current page.
At minimum, every match-key specified must contain a zone:page, and any that do not will be skipped automatically. You can use _WILD in any portion of the match-key as a catch-all.
You can also specify additional bits to further filter the message. You can specify zone:page:type (to also filter by type) or even zone:page:type:id (to also filter by type and ID). If you just want to filter by ID but not type, you will need to do zone:page:id=the_id, or you can do zone:page:_WILD:id. Other parameters are also supported, just add them in as :param=value.
Here are some examples:
- _WILD:_WILD: This will show everywhere; this has the same behaviour as not defining any match-keys.
- adminzone:_WILD: This will show on all pages in the Admin Zone.
- :home: This will show on the home page of the welcome (unnamed) zone.
- _WILD:home: This will show on the home pages of every zone (assuming every zone has defined "home" as its home page).
- site:tickets: This will show on every screen in Support Tickets, but only if the Support Tickets module is in the site zone.
- _WILD:tickets or _SEARCH:tickets: You should use this syntax instead when dealing with modules; this will show on Support Tickets regardless what zone it is in.
- _WILD:cms_news:add: This will show when adding a new news article.
- _WILD:cms_news:_edit: This will show when editing any news article.
- _WILD:cms_news:_edit:1 or _WILD:cms_news:_edit:id=1: This will show when editing the news article with an ID of 1.
- _WILD:cms_news:_WILD:1 or _WILD:cms_news:id=1: This will show when dealing with any CMS action involving news article ID 1 (such as editing or deleting).
- _WILD:news:view:1: This will show when viewing news article ID 1.
- _WILD:members:view:test: This will show on test's member profile (you can also use a member ID instead of the username).
- _WILD:report_content:content_type=member: This will show when reporting specifically a member profile via the "Report this" link.
Use cases
Here are some of the many ways you can use site messages:- Inform users of scheduled maintenance which may impact portions of the site (using match-key filtering on the specific locations) or the site as a whole
- Inform users of bugs or problems in certain areas of the site that have not yet been fixed
- Announce the future removal / change of a site section, feature, or page
- Inform that a user is looking at old content and provide a link to the updated content
- Make critical announcements that need higher visibility than what news alone can offer
- Make collaboration notices (e.g. if you use git for your site, you could put a message on the Comcode edit screen informing staff not to edit pages through the UI but to edit the txt files manually)
- Announce exclusive content to specific usergroups
- Make an announcement that only appears to guests but disappears when they log in (e.g. selecting all usergroups except guests)
- Make disclaimers of liability of content in user-centric locations, such as the forums
See also
Feedback
Please rate this tutorial:
Have a suggestion? Report an issue on the tracker.